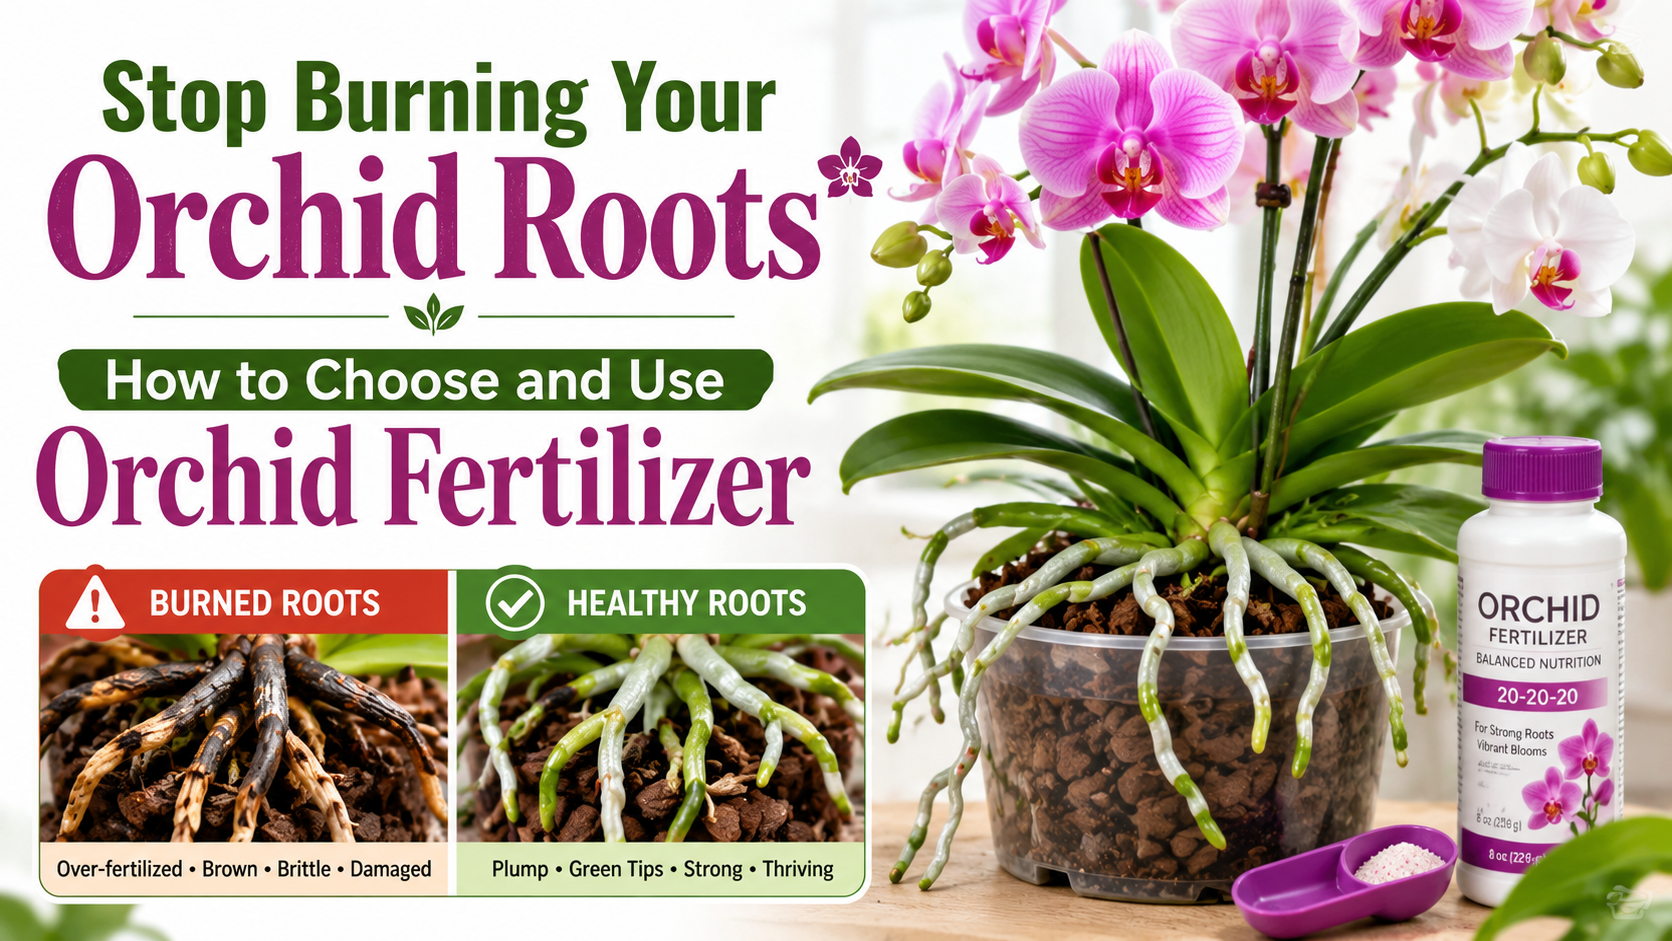

Brown, shriveled roots after feeding? Learn how orchid fertilizer burn happens, how to help a stressed plant now, and how to fertilize with more confidence next time.
Fertilizer can burn orchid roots when a solution is too concentrated, applied to dry roots, or allowed to build up in the potting medium. Pause feeding, flush the pot thoroughly with plain water, and resume only when new growth is active using a diluted product according to its label.
Are you burning your roots? What fertilizer damage can look like
Fertilizer burn is damage caused by dissolved mineral salts around the root system. In an orchid pot, those salts can pull water away from root cells instead of helping the plant take water in. The result may be roots that look dry, browned at the tips, hollow, papery, or suddenly less able to support firm leaves.
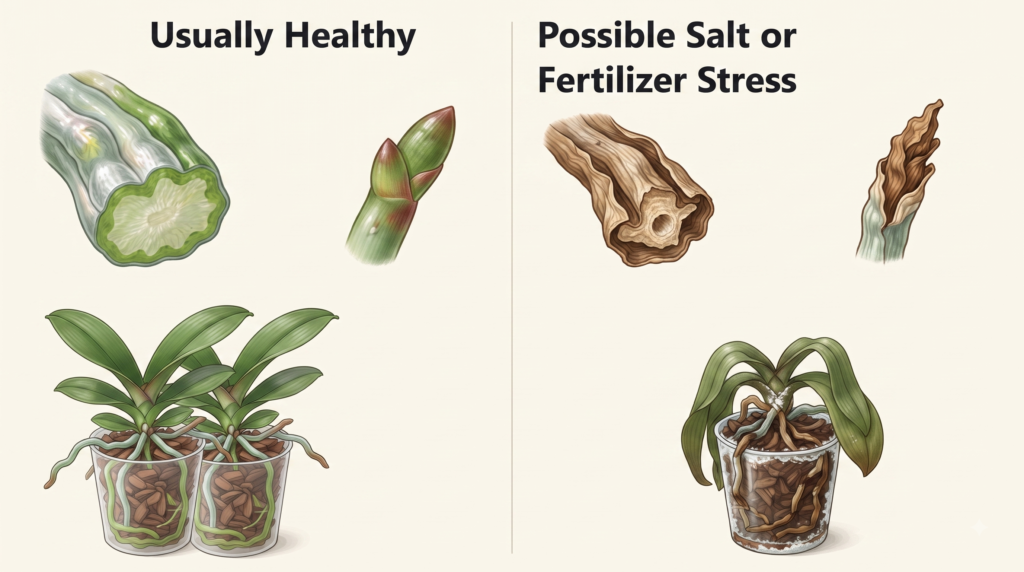
Do not diagnose every brown root as fertilizer burn. Old roots naturally age, while black, mushy roots and a sour potting mix often point to staying too wet. Look for the pattern: symptoms that appear shortly after feeding, a white crust on bark or pot edges, and damage across several exposed roots make salt buildup more likely.
Usually healthy
Firm roots with intact velamen, pale silver to green coloring, and fresh green or reddish growing tips. A few older, dry roots are normal.
Possible salt or fertilizer stress
Crisp brown tips, widespread shriveling after feeding, a crusty residue, stalled new root growth, and limp leaves despite a wet mix.
How to fix fertilizer burn on an orchid
A damaged root cannot turn green again, but the orchid can recover if enough living roots remain and the source of stress is removed. The goal is not to force rapid growth—it is to restore an even moisture balance, good airflow, and time for new roots to form.
Four calm recovery steps
- Stop fertilizing for now. Do not try to correct stress with another product, bloom booster, or extra dose.
- Flush the potting medium slowly with room-temperature plain water. Let water run freely through the drainage holes; repeat once if the mix was heavily fed.
- Return the plant to bright, indirect light and water only as the medium approaches its normal drying point. Avoid both drought and constantly soggy media.
- Repot only if the medium is decomposed, sour, compacted, or visibly loaded with residue. Trim only roots that are clearly hollow, black, or mushy with clean tools.
What fertilizer should orchids use?
An orchid-specific fertilizer can be convenient because its directions are written for epiphytic plants grown in bark or moss rather than ordinary soil. A balanced fertilizer may also work when used correctly. The most important choices are a complete formula with micronutrients, a concentration appropriate to your product label, and a routine that matches your plant’s active growth and potting medium.
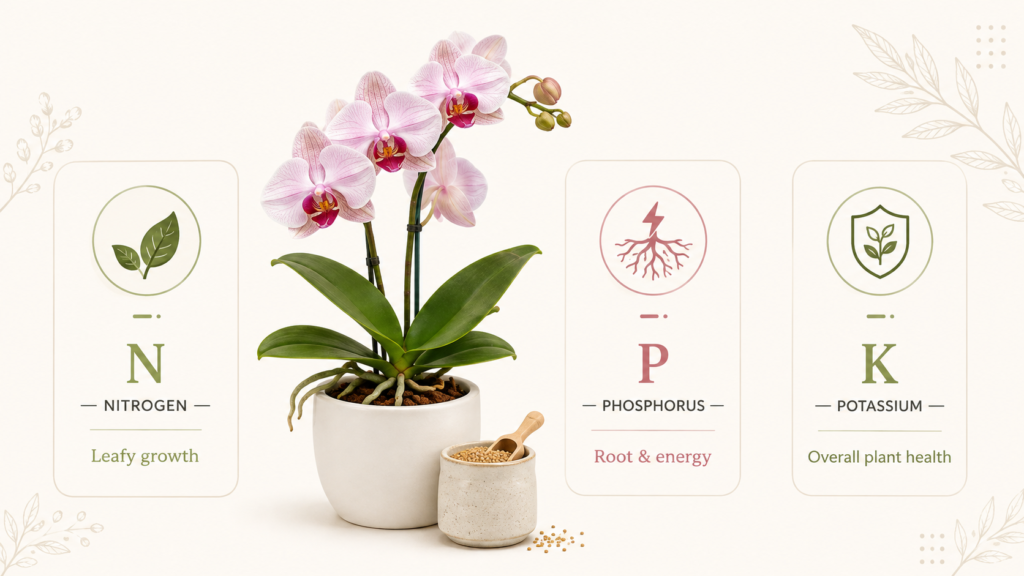
N-P-K, in plain language
N — nitrogen
Supports leafy, green growth. Too much can encourage soft growth without solving poor light or root problems.
P — phosphorus
Involved in energy transfer and root processes. A high-phosphorus formula does not guarantee flowers.
K — potassium
Supports many overall plant functions. It works best as part of a complete, measured feeding program.
A safer orchid fertilizing routine
There is no single feeding schedule for every orchid. Light, temperature, water quality, species, pot size, and potting medium all change how quickly a plant uses nutrients. For a typical actively growing indoor Phalaenopsis, a light, consistent approach is generally easier on roots than occasional heavy feeding.
Use this low-risk order
- Water first when roots and medium are dry. Moistened roots are less vulnerable to a fertilizer solution.
- Mix fertilizer exactly as directed for the intended use; do not estimate from memory or use extra for a tired-looking plant.
- Apply the diluted solution through the medium and let it drain completely. Never leave a pot standing in fertilizer water.
- Periodically water with plain water only to flush accumulated salts, especially with bark media or mineral-heavy tap water.
Why bark and sphagnum need different care
Orchid roots are often grown in open media because they need air as well as moisture. Unlike ordinary soil, bark and moss do not hold water or fertilizer in the same way. Check the root zone, not just the calendar, before watering or feeding.
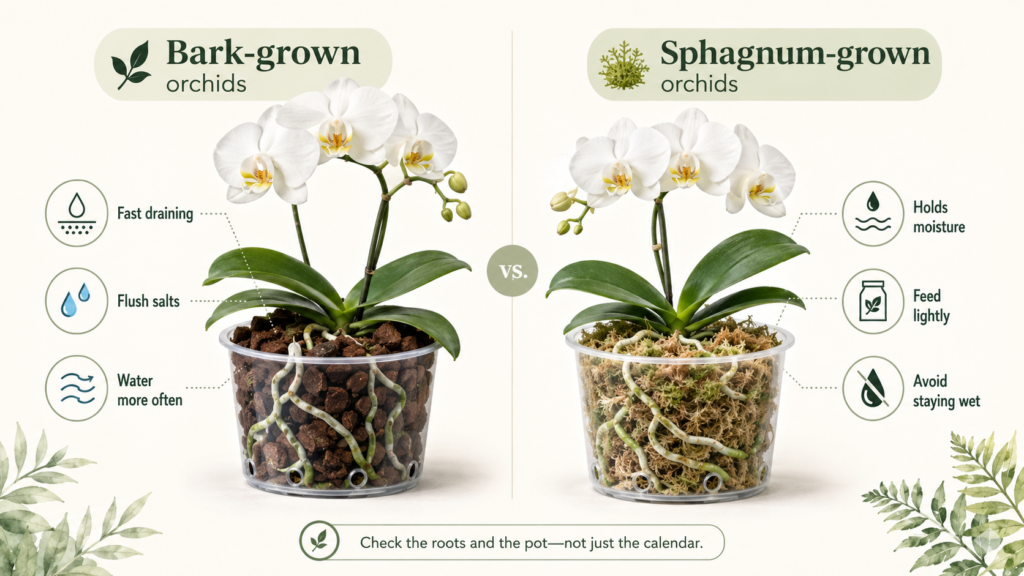
Bark-grown orchids
Bark drains fast and may need more frequent watering. It can also collect fertilizer residue over time, so routine plain-water flushing is especially useful. Replace bark once it breaks down and stays wet too long.
Sphagnum-grown orchids
Sphagnum holds moisture and dissolved nutrients longer. Feed less aggressively, allow the mix to approach its usual drying point, and make sure the center of the pot is not staying wet for too long.
Frequently asked questions
Can burned orchid roots recover?
A root that is dead will not recover, but an orchid can grow replacement roots if its crown, leaves, and some roots remain healthy. Remove the salt stress, provide stable care, and judge recovery by firm leaves and new root tips over the following weeks or months.
Can I use regular houseplant fertilizer on orchids?
A complete regular fertilizer can work when it is appropriate for plants, diluted accurately, and used carefully. Orchid-specific products can make dosing simpler, but they are not magic. Avoid using any fertilizer at a stronger rate than its label supports for your growing conditions.
Should I fertilize an orchid while it is flowering?
A healthy orchid can usually receive a mild, label-directed feeding while flowering, but avoid changing routines dramatically during bloom. If the plant is stressed, newly purchased, severely dehydrated, or showing root damage, focus on recovery rather than feeding.
When should I stop fertilizing orchids?
Reduce or pause fertilizing when an orchid is not actively growing, when light is low, after repotting into fresh medium, or while recovering from root damage. Resume gradually when you see stable new roots or leaves and conditions support growth.